How Sega Nu works (part 2)
It’s been a while since I have posted my findings about the Sega Nu machine. I was lucky enough to get another arcade machine for around 10,000 yen. My goal with this new machine is to carefully backup everything and then carefully make sure that I am able to get the recovery key for the bitlocker drives so I can do anything with it later on.
If you haven’t read the part 1 yet, back up, back up, back up your drives!
Before I was able to get the new machine shipped to Canada, I created a plan for this new machine:
- Image both system drive and data drive
- Using pcileech to dump the entire system memory while logged in
- Extract Bitlocker keys from the system memory
- Restore the image onto my old Sega Nu that had drives messed up
- Try to hack on the old machine while keeping the new machine untouched
Required tools
Breaking bitlocker
The bitlocker on the machine isn’t exactly configured for maximum safety, the OS partition is auto unlocked with TPM and rest of the partition is auto unlocked with a key stored in the OS partition. By having the system successfully boot into windows, we are guaranteed to have the bitlocker keys in the system memory, the only thing left is to dump it.
The system is protected with key filters so you can’t just open a command prompt with elevated privileges and dump memory, although you can modify the unencrypted drives to make the system launch your own shell with System user, I haven’t figured out a way to successfully dump the memory.
Because we know the system auto login to the lower privileges, that means the system will enumerate PCI devices, this means our Screamer M.2 are able to carry out DMA attack on the system to dump full system memory.
Any PCI device supported by pcileech can be used, you can also use lower powered FPGA with PCI support and customize your own
Here is the setup:
    flowchart LR
    A[Personal Laptop] <--> B[Screamer M.2]
    B <--> C[Sega Nu]

Because Screamer M.2 is M.2 form factor, it is installed in the pci adapter before installed to the Nu

The Screamer M.2 is then installed to the PCI slot where the AIME card was installed originally
Removing the AIME card will not trigger a Bitlocker recovery mode, but please be aware that your experience might differ, if you did manage to get it stuck in recovery mode. I might know someone that has images to those drives and the recovery key. 😉
And after that simply power on, wait till its booted and in game start up mode run the pcileech tool to extract the full system memory.

Then the images can be mounted and Voilà, the contents of the OS drive:

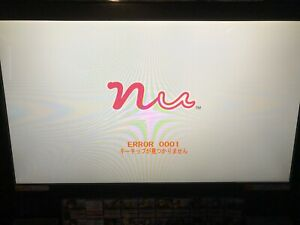
DO NOT decrypt the disk and boot the arcade in normal mode, Nu’s preboot has check that will render the device unusable once it detected the drives are decrypted. Keep the recovery key/encryption key and update files off the system.
It is also possible to clone the entire system on to another system, there has been speculation that there are special software locks the disk to the motherboard serial, that is not true. You are able to take the encrypted raw disk image and take it to another system, during boot just enter the recovery key of the encrypted disk or re-key the boot partition to use the TPM on the motherboard.
Re-key OS partition
Once the encrypted image is restored to a different system, the bitlocker volume for the OS partition will continue try to use the previous system’s TPM to unlock, this will end up failing everytime and prompt you to enter recovery key at every boot. You can re-key the drives by going into an Admin prompt and remove existing TPM key protector on the OS partition and add a new TPM key protector. After committing the changes using EWF, the system will be able to bootup without the need to enter recovery password
Closing
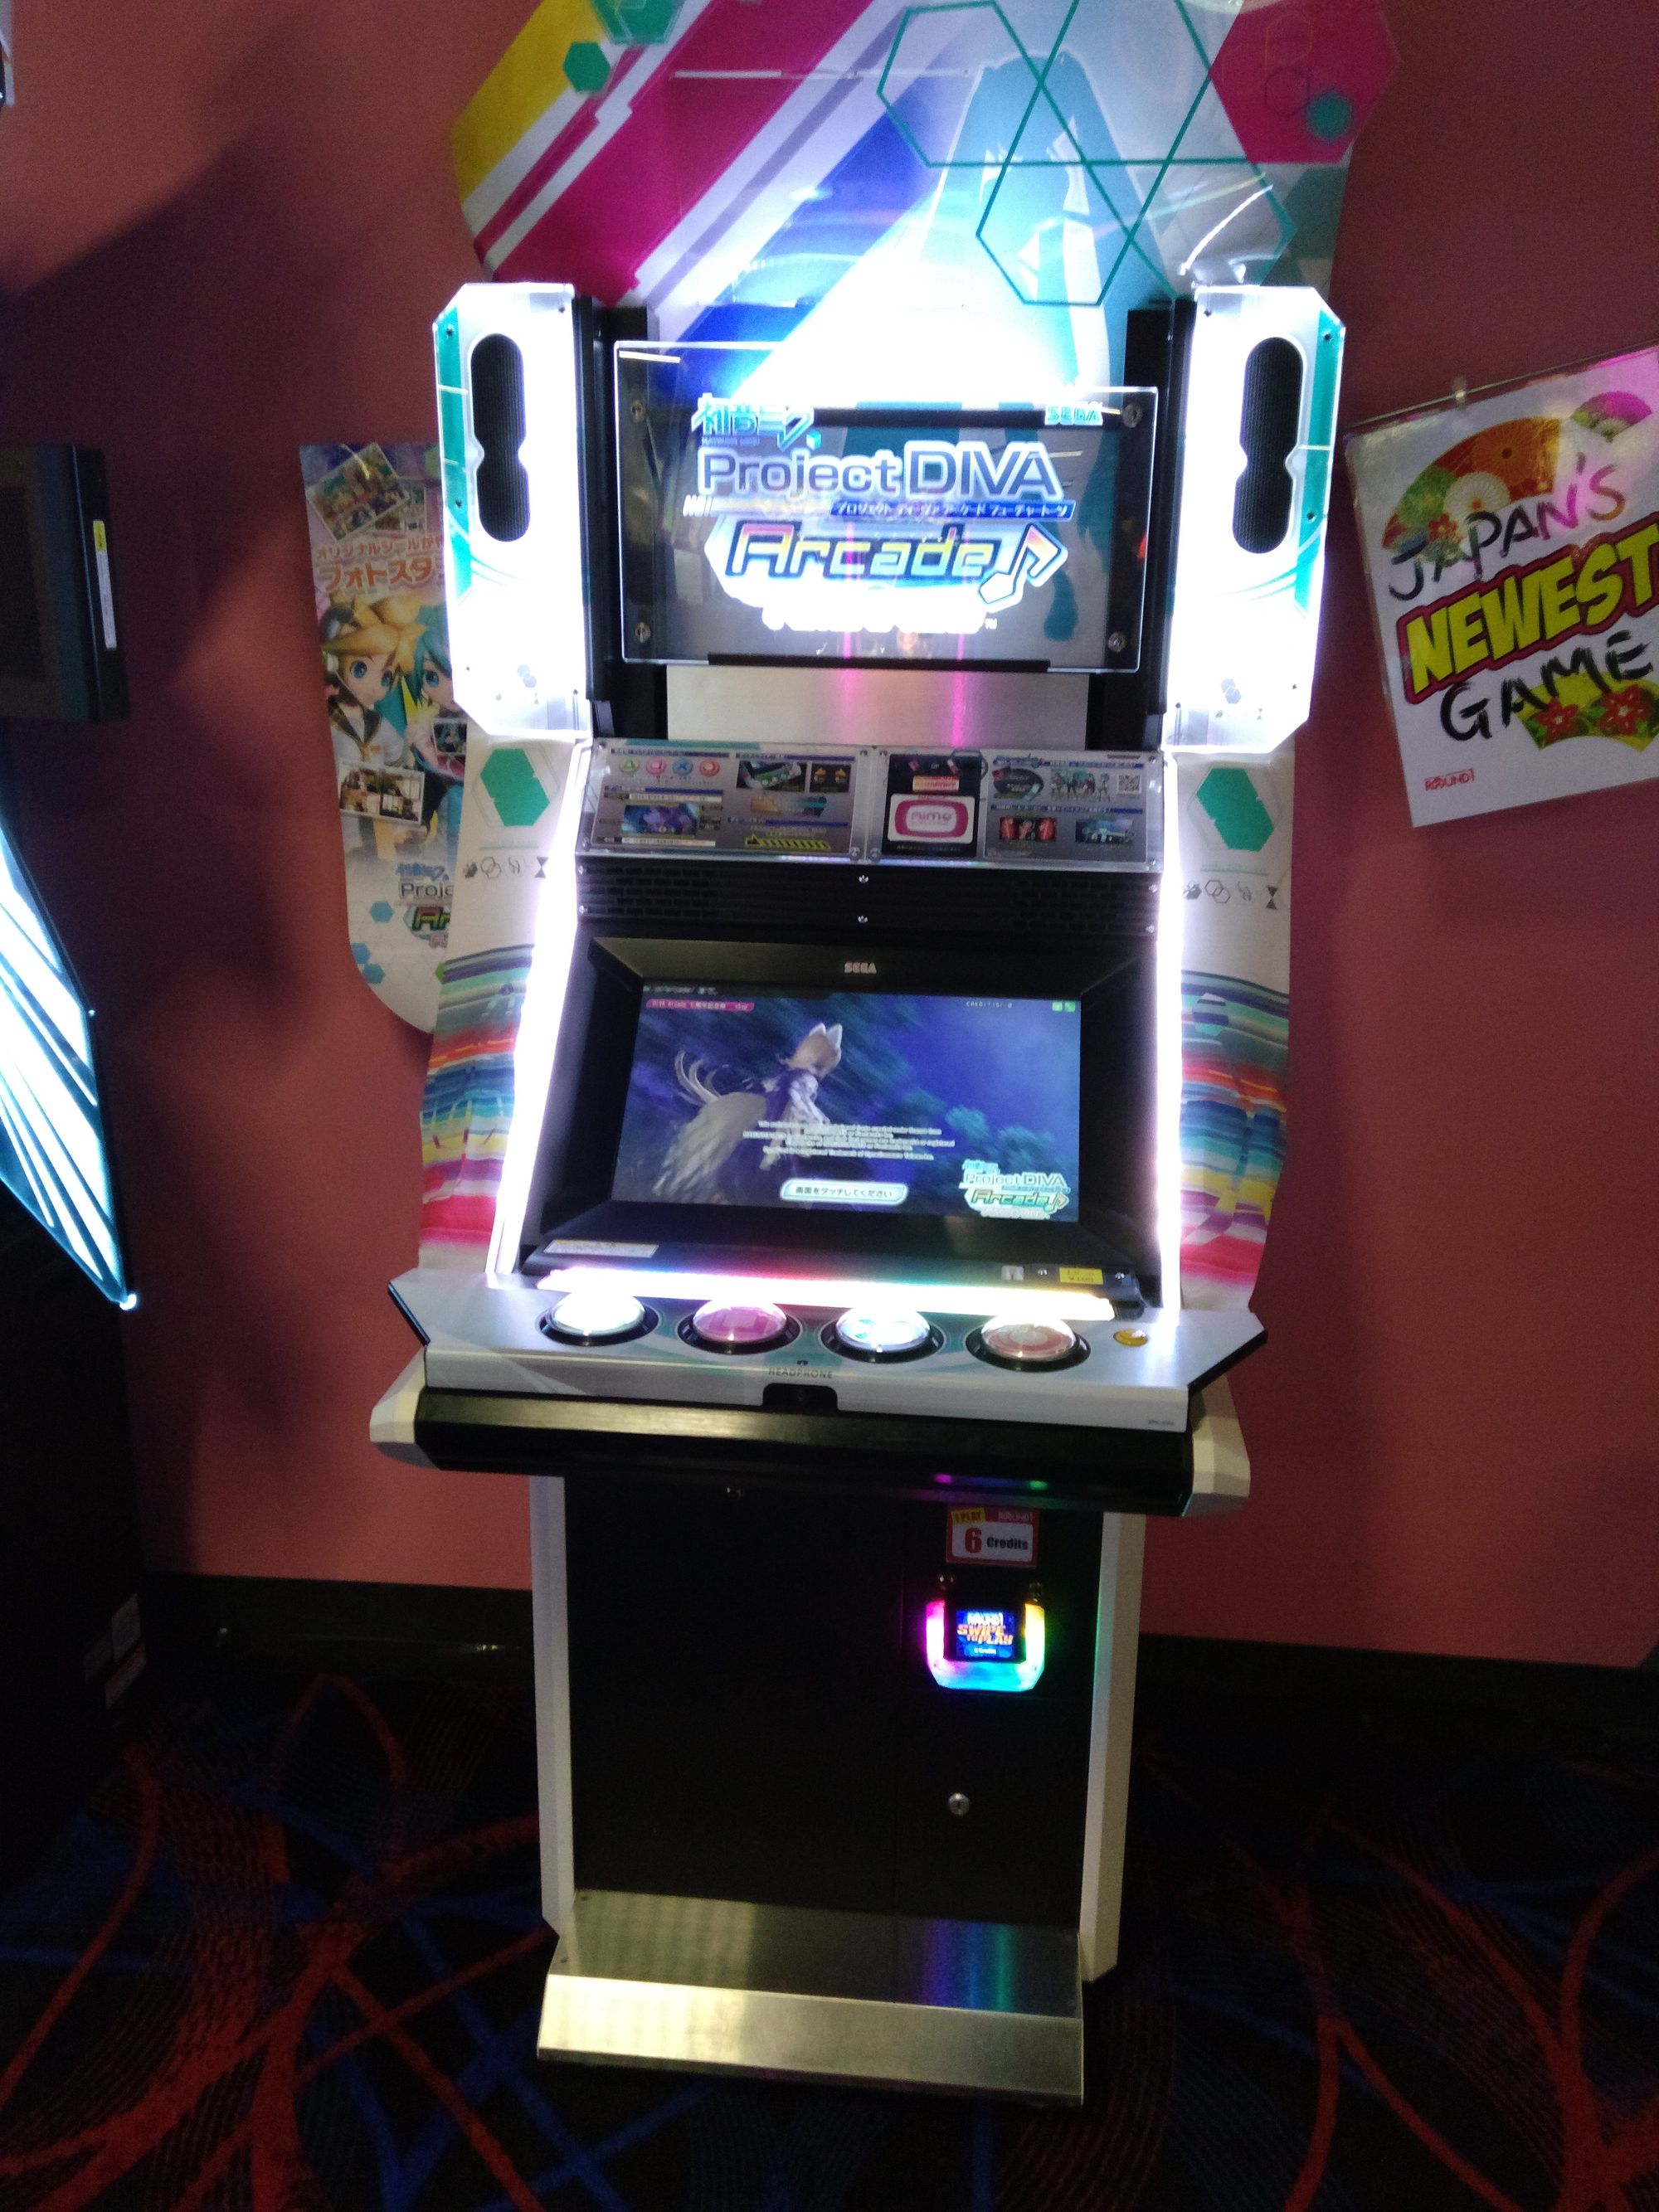
This concludes most of the learning about the Sega Nu, we broke it completely open, once drives are decrypted, you can use the Keychip to decrypt the game images, and those game images will be available as Virtual Disk where you can extract.
More information about my discoveries of the Sega Nu can be found here
Happy Hacking! Long live PDAFT!